Nagios is a monitoring tools and it’s a free and open-source platform. Nagios is also known as Nagios core. Nagios gives monitor and alert solution for servers, hardware, hosting and applications. It was mainly structured to run below the Linux, actually it runs better on Unix systems. Nagios is a free and open-source licensed by the GNU GPU V2 terms.
In this article we are going to learn how to install Nagios 4 on Ubuntu 20.04 server. Let’s begin the Nagios installation now.
Install Nagios:
In the Ubuntu repository Nagios 4 is the the available version. Run the commands below to install nagios, before that run the update then install nagios core, plugins and its packages on your Ubuntu 20.04 server.
sudo apt update
sudo apt install nagios4 nagios-plugins-contrib nagios-nrpe-plugin
When installing Nagios it will be prompted to mail server configuration
- Select ok and click Enter
- Select Internet Site and Enter
- fill your domain name and click Enter
Enable Modules:
Apache configuration comes with Nagios which rely on these modules. To enable mod_authz_groupfile module and mod_auth_digest module run the command below.
sudo a2enmod authz_groupfile auth_digest
Default Apache configuration have access to Nagios only the private IPs and localhost. We will modify the configuration for only authenticated users.
After that restart Apache.
sudo systemctl restart apache2
To edit the configuration file run the commands below.
sudo nano /etc/apache2/conf-enabled/nagios4-cgi.conf
Search the line called Require ip, and Require all granted and comment those lines, then find the line called Require valid-user and uncomment like the image below.

After that restart the Apache.
sudo systemctl restart apache2
Check Nagios And Apache Status:
To check the apache and nagios status run the command below.
sudo systemctl status apache2
sudo systemctl status nagios4
Create user:
In Nagios the user called nagiosadmin have configured with admin privileges by default. You can log in with Nagios Web with the nagiosadmin username. To create the user run the commands below.
sudo htdigest -c /etc/nagios4/htdigest.users Nagios4 nagiosadmin
Now it’s asking for password, create your password and continue.
Output

Adding password for nagiosadmin in realm Nagios4.
New password:
After creating password restart the Apache.
sudo systemctl restart apache2
Explore Nagios Web Interface:
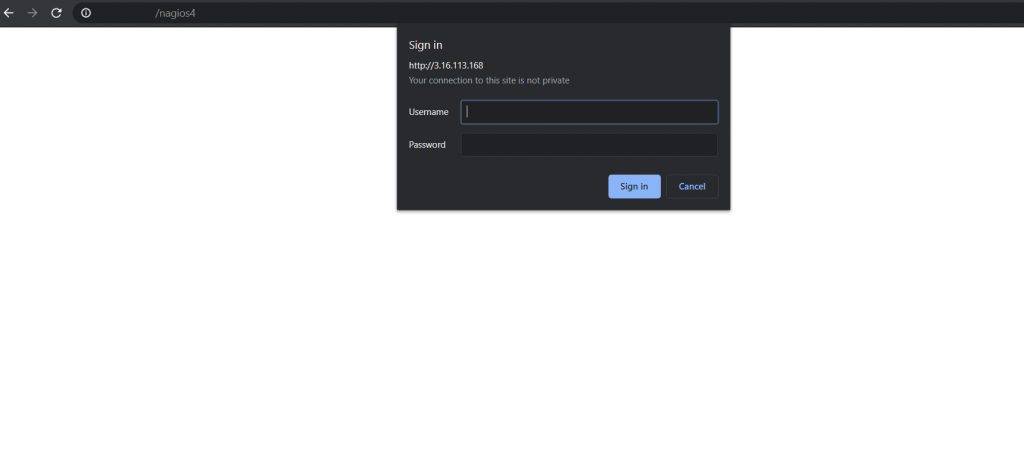
Go to your browser then enter your ip_address/nagios4 or domain_name/nagios4. Now you can see the Nagios login page. Login nagiosadmin and password you created before.


That’s all we have finished. Start monitoring now.
Conclusion:
Successfully we have installed Nagios on our Ubuntu 20.04 server. In this tutorial we have learned how to install and configure Nagios on Ubuntu 20.04 server.
Next Article: How to Install and Setup Jenkins on Ubuntu 20.04


