In this tutorial we are going to see how to install Google tag manager on our websites.
What is Google Tag Manager?
Google tag manager is a marketing tag management tool which allows you to deploy tracking or snippet codes on your Website or mobile applications. It’s a free and more useful tool.
Sign up Google Tag manager:
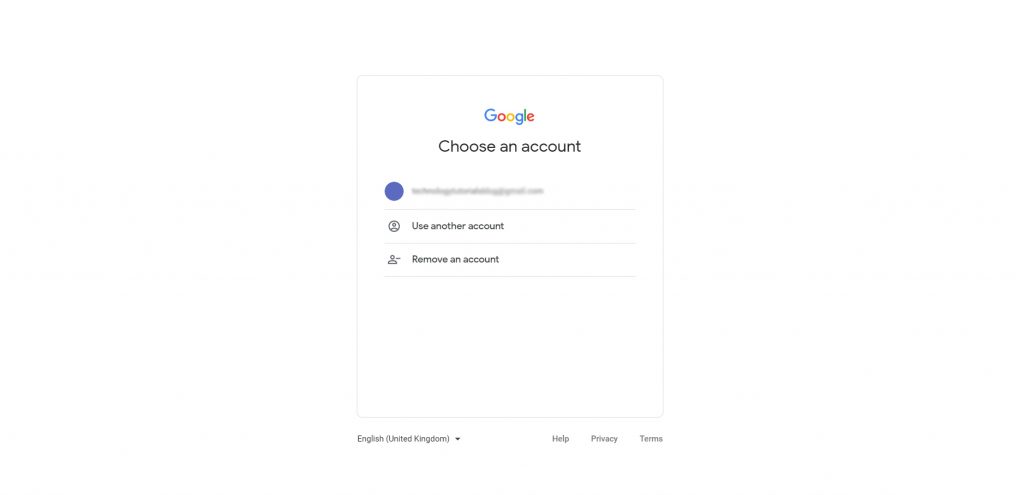
Go to Google Tag Manager page. If you already have a Google account click sign in (you need google account for google tag manager)

Sign in with your Gmail account:
Sign in Google Tag Manager with your Gmail id
Create Google Tag Manager account:
Click create account and fill your account name or company name and click continue


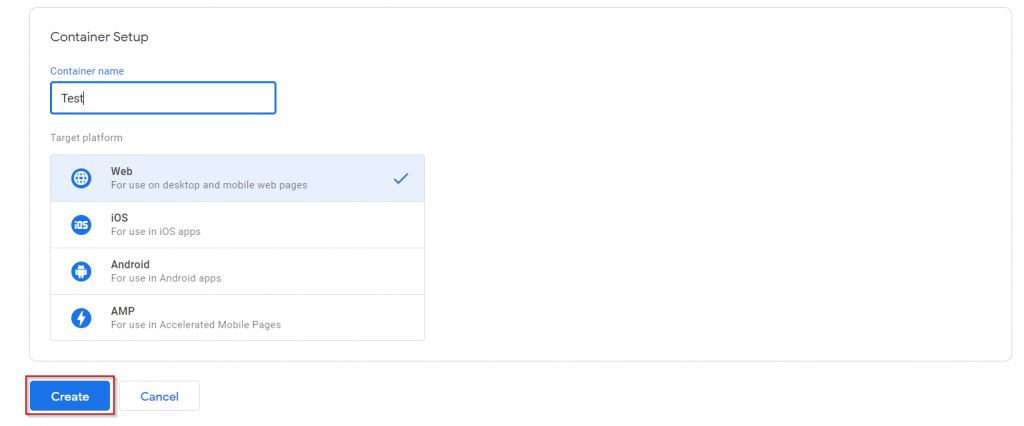
Setup GTM container:
Select your platform and create your container
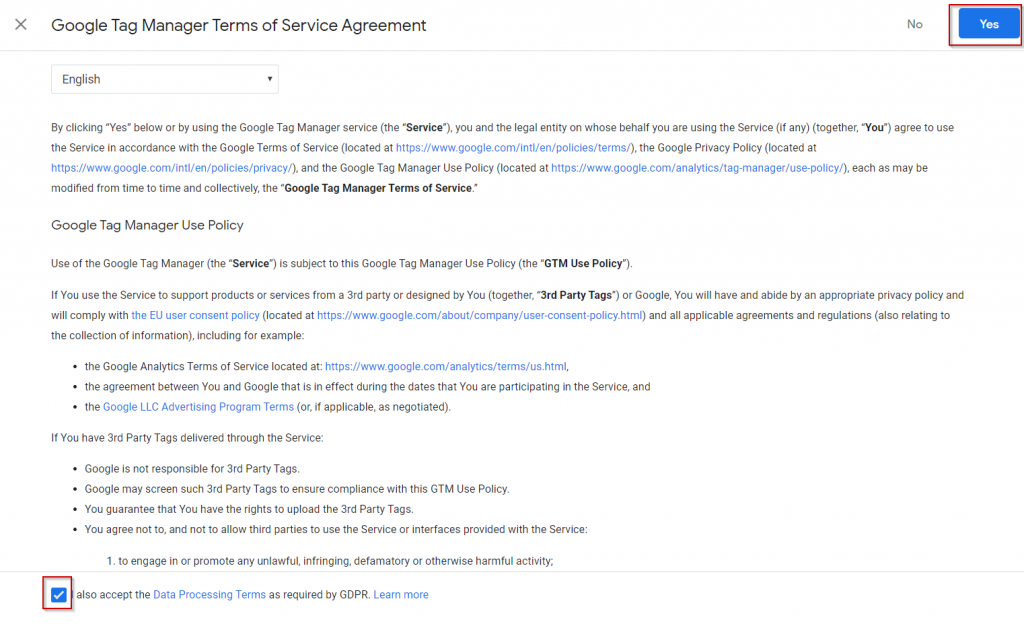
Agree the google tag manager terms of service
Afterthat install google tag manager code on your website.
Install Google Tag Manager:
After creating container you will be prompted to website tags
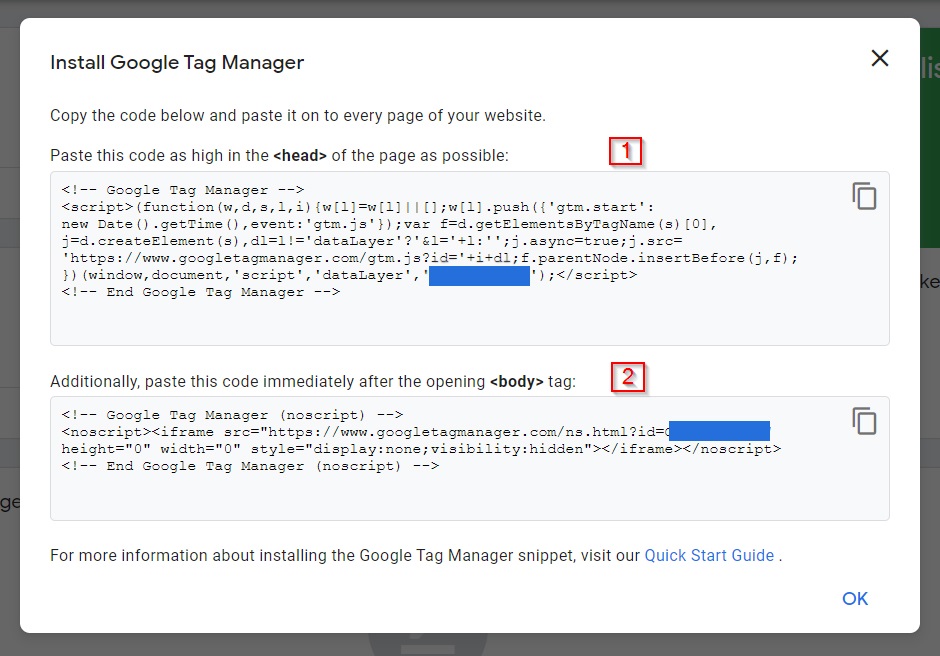
Copy the first tag and paste into <head> section

Next copy the second tag and paste it immediately after opening <body> section

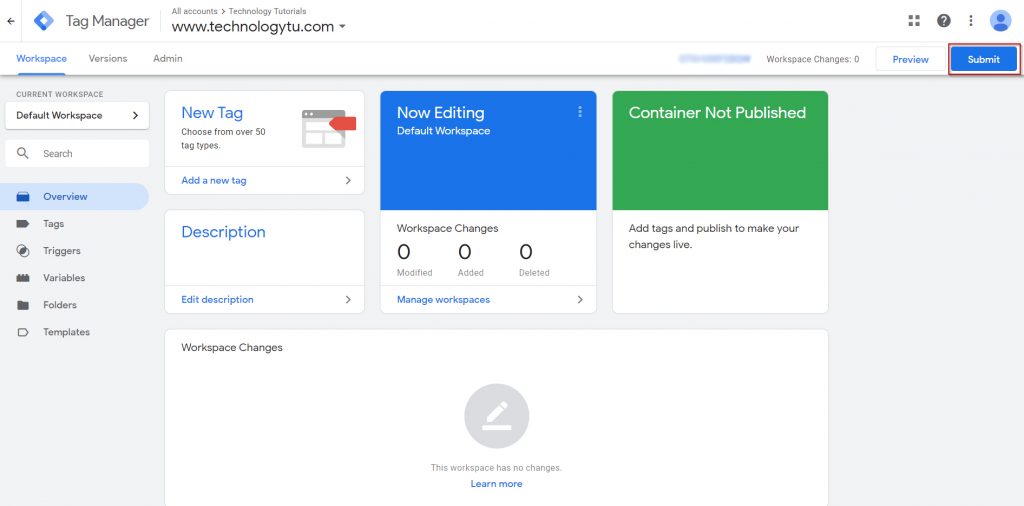
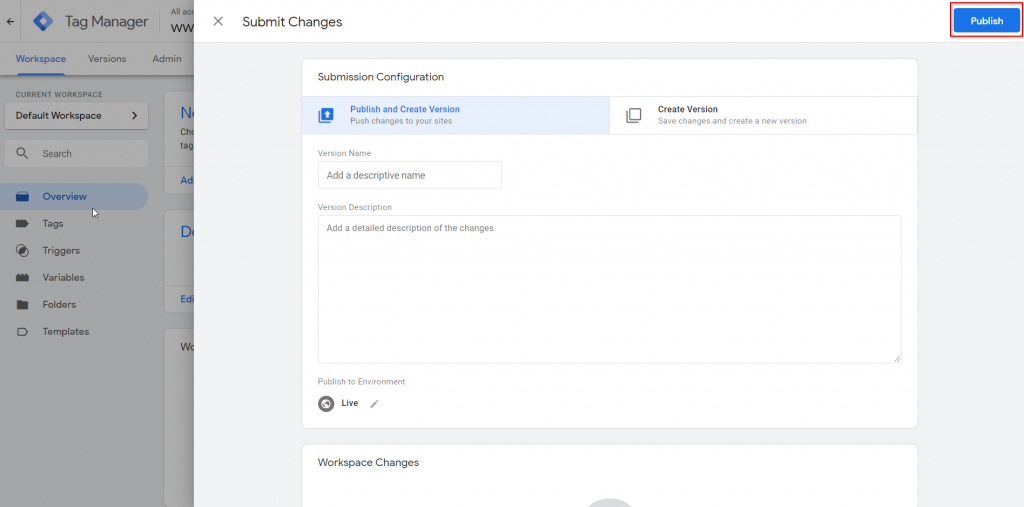
Publish the GTM container:
After installing GTM code on your website. Go to google tag manager account and publish the container if the container doesn’t have tags. Because unpublished GTM containers don’t work.
Check if Google tag manager is working properly or not:
Go to the chrome extension store. Find google tag assistant extension and install it on your browser
Go to your website then click on tag assistant and enable the tag assistant and refresh your website. After that click tag assistant if it shows yellow and red you have a problem with your tag manager installation it shows green all working correctly.

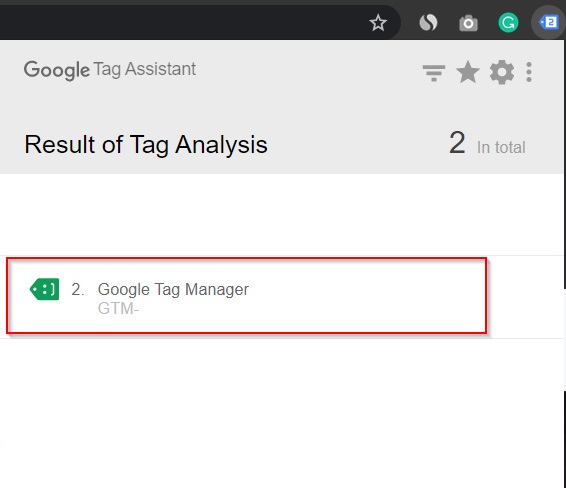
That’s all you have finished your google tag manager installation. Start publishing your tags.
